Table of Content
With just a few common materials you can complete this project. Solar light pathsThis is a simple project; a path light wrapped in wire and hung with the help of a 15-inch rope. It is also very easy to replace the light when needed since it is held by the spring tension. And if you are not planning on using them for a while, remember to remove your solar lights from their battery.

You now have a complete solar-powered light as everything is all set. Now, choose the perfect spot for installing the light. Keep the light in your preferred location and add the installation screws and frame with the appropriate measurement. The light fixture will acquire power from the board via the cable that you’ve already installed. Be sure to measure the voltage before you finish everything so that a correct connection is guaranteed.
How do you turn on solar garden lights?
The DIY post is available at The Art of Doing Stuff! They didn’t use solar lights, but you can replace conventional lights with them. Be sure not to leave your solar lights out in the rain because they will short circuit and go dead. If that happens, try rewiring them to test the connection.

Be sure to use a soft-bristled brush to remove any debris or stubborn spots. We recommend cleaning your solar panels about once per month to ensure they’re absorbing as much sunlight as possible. Place your home-made solar light in a window with the solar panel facing the sun. When the sun goes down the power generated by the solar panel should cause the LED light to shine inside the jar. The battery will provide you precise light output when the solar panels are generating adequate energy. To do so, you need to compare the discharging and charging performance of your battery.
Step 1: Buy The Products
You can test this by placing the cell in sunlight and using a multimeter to check for current. Put a layer of tape around three sides of the glass. This will help you control the depth of your coating. Use a dropper or pipet to drop a small amount of the titanium dioxide solution onto the surface of the glass.
So, You should select the best place for installing the light. Select the light from a famous brand and ensure its warranty, durability, and connectivity. Depending on the connection type, you need to think about cable length, thickness, and an inverter. A very powerful tool for the curious, and can pave a path to decipher innate knowledge." Color another piece of conductive glass with graphite.
Complete Steps To Make A Solar Light From Scratch (DIY Solar Light)
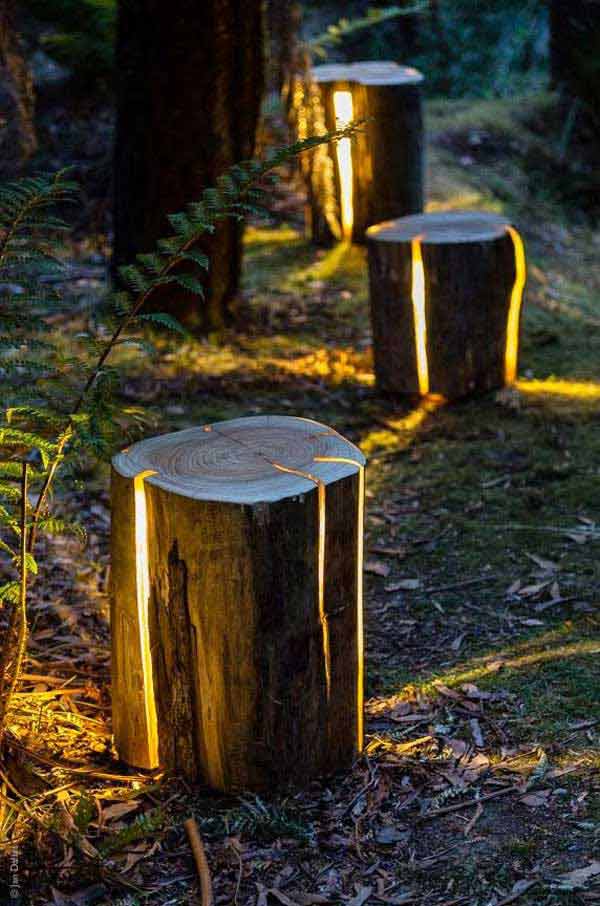
String solar lights offer a greener alternative to traditional string lights, which include extension cords and high energy bills. You’ll feel better knowing the ambiance of your party is coming from the power of solar energy. You can also have decorative solar lights installed on fences, walls and decks to illuminate a pathway. These lights provide a beautiful and gentle ambiance around the house. You can choose several varieties and features of these decorative solar lights.

Other materials you need include self-adhesive record numbers, an opaque, and shelf liner. This is a simple leisure project to do with your loved ones. Gather all the basic supplies such as clay pots, solar light, and paint.
Solar Garden Light Circuit w/ Automatic Cut Off
There are frequent power shortages in places like the Philippines and India, making most people rely on kerosene to light up their homes. Kerosene is expensive and cannot be afforded by most people. It is better to install them in a place where it can spread the light throughout the room space. You will get powerful brightness for everyday usage.

The solar panel will also be blocked from receiving direct sunlight, which is essential to keep the solar light operational. Solar light needs special solar switches that work great with DC and AC output. A high-voltage switch can not work with solar panels and light. The solar panel will get power from the sun and take it to the battery. The solar circuit board is responsible for receiving power from the solar panel and supplying it to the circuit board. Connecting the circuit to the battery is a technical part of making a solar light from scratch.
Then, use some wire to connect the panel to the light. Finally, mount the light in a spot that will provide security for your home. The solar panel collects energy from the sun and stores it in the battery during the day. At night, the water pump turns on automatically and pumps water up to the top of the fountain. Christmas is just around the corner, and this DIY project will help you get into the holiday spirit! These solar-powered Christmas lights are easy to make and they look great.
The inverter is what actually converts the electrical energy into usable household power. To connect the inverter, first consult the owner’s manual. Then, connect the inverter’s positive and negative terminals to the batteries’ corresponding terminals. Once the inverter is connected, you can then attach it to your solar panels.
Of course, adequate sunlight is necessary to charge the battery fully. Fundamentally, solar lighting is rapidly changing countless lives globally. It significantly helps minimize energy expenses for low-income families and supplies alternate energy in areas where there is abundant sunlight. Moreover, a high voltage switch is incapable of working with solar light and solar panels.
The PCB board should be just the lid’s perfect size as it will be placed under the lid and enable it to close well. Taking some old watering globes, Handan pushed fairy lights into the stem. After she’d filled the bottom, she wrapped the excess around a dowel and placed it inside the stem. To finish, she threaded the wire through a garden tap she’d cut from its original piping. Finally, she fixed the tap into a candlestick holder and placed it in her garden. By removing the cover of an old solar light, Wifesipad made this creative planter.


No comments:
Post a Comment