Table of Content
It will help you to get lights according to your needs. When using a soldering iron, we are more flexible, and connecting elements together in different ways is relatively easy. You must also be comfortable using the soldering iron.
The powder contains a chemical called titanium dioxide . Titanium dioxide is a useful material for creating solar cells. There are plenty of ways we can improve our houses, but creating a greener house that includes solar lighting tops the list. A greener home is not all about the positive impact on the ecosystem, but also about giving a positive vibe to a beautiful abode. You can use artificial lights during nighttime, but consider installing solar LED lights for a greener and more sustainable home.
DIY Solar Light Flower Stand
For this project, you will need solar panels, batteries, LED lights, a charge controller, and a power inverter. You can find all of these supplies at your local hardware store or online. Gather all of your supplies before beginning the project to make sure you have everything you need.
The reflective tape will help increase the amount of sunlight absorbed by the panels. To add the tape, peel off the backing and attach it to the panel. After you have cut the plexiglass to size, the next step is to attach it to your solar panels. First, lay the plexiglass on top of your solar panels.
How to Make a Solar-Powered Light at Home
After your wires are in place, the next step is to mount your lights. You can use any type of light that you want, but solar-powered lights are the most efficient. First, find a location that gets plenty of sunlight to mount the lights. Then, use screws or nails to attach the lights to a surface.
As an added tip, you could make a hole in the bottom of the jar to thread the lights through and hide the solar pack under your table. Taking eight strips of wire, Melanie fixed them together by wrapping more wire around the top. Once secure, she fanned out the strands into a spiderweb and placed a bowl in the center. From there, she fashioned the wire strands into a bowl. Finally, after adding some foliage, she inserted a bulb for a simple yet stylish hanging solar light.
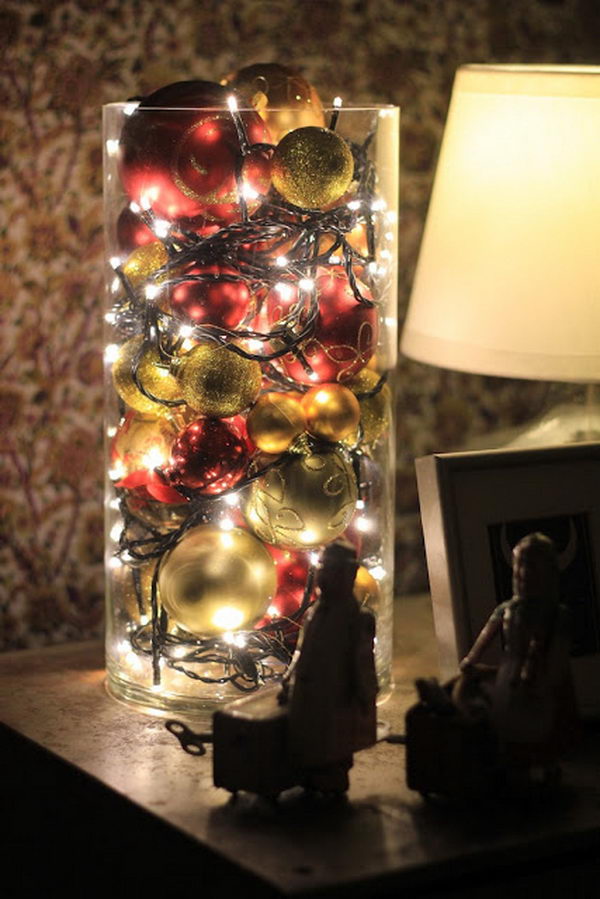
Gorgeous and Repurposed Mason Jar Luminaries
Maintain a secure environment to make sure your solar lights outdoor work properly. After your solar cells are in place, the next step is to attach your batteries to the system. Batteries are used to store the electrical energy that is generated by solar cells. You will need to connect the batteries positive and negative terminals to the solar cells’ corresponding terminals. Once all the batteries are connected, you can then attach them to your solar panels.

You should always keep the solar light clean to give you a bright and illuminating ray when you need it. You can use a soft cloth and soapy water to clean the solar lights. The solar circuit board manages and produces electricity from the solar cell to the circuit board. The light will be powered by the board via the connection you have previously inserted.
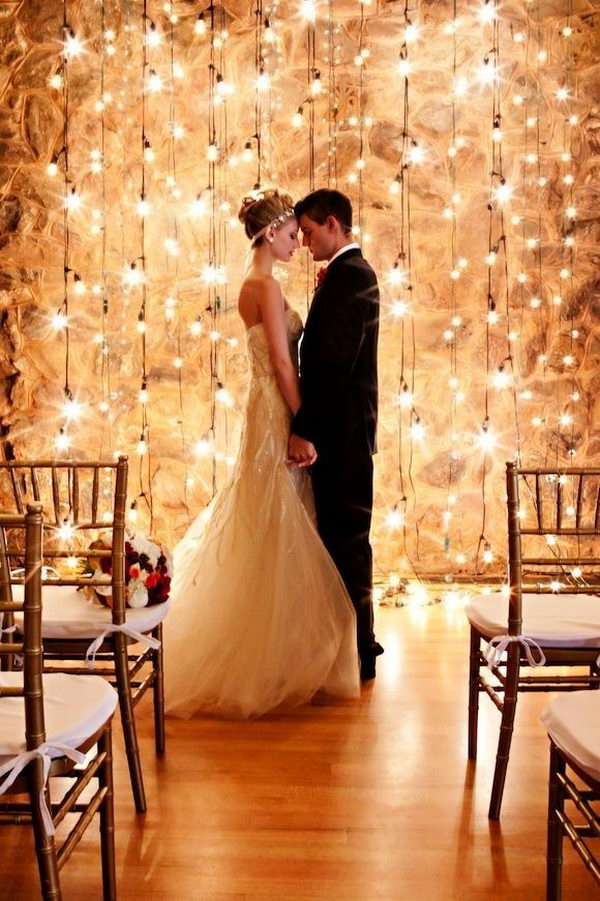
How to Add Solar Lights to Make Your Home Greener
Of course, adequate sunlight is necessary to charge the battery fully. Fundamentally, solar lighting is rapidly changing countless lives globally. It significantly helps minimize energy expenses for low-income families and supplies alternate energy in areas where there is abundant sunlight. Moreover, a high voltage switch is incapable of working with solar light and solar panels.
Lanterns are a great way to add some light and ambiance to your outdoor spaces. And with this DIY project, you can make them solar-powered! You need a solar panel, some led lights, and a glass jar or hurricane lantern. The good news is that you can find most of the materials you need at home or online stores. Creating DIY solar lamps is easy even for beginners.
Low voltage will provide you with less brightness than the efficiency of the 50w solar panel. The battery pack can be connected to the solar panel and the LED light using the supplied connector. Before making the connection, ensure that the polarity is correct (i.e., positive to positive and negative to negative). A desk lamp is a great way to provide extra light for your workspace. And with this DIY project, you can make it solar-powered!
Twist the exposed ends of the wire together using the pliers. Make sure that the wires are tightly twisted together so that there is no risk of them coming apart. Christmas wouldn’t be Christmas without a beautifully decorated tree. But traditional Christmas tree lights can be expensive, and they often require wiring.
However, you can expect to spend about $100-$200 on solar cells, batteries, an inverter, and other necessary components. Additionally, you will need to factor in the cost of labor if you hire someone to help you install the system you use. Again, however, you can expect to spend about $100-$200 on solar cells, batteries, an inverter, and other necessary components. Once you have all your supplies, the next step is choosing a location for your solar panels.
For instant gratification, sun jars can be purchased in pink, blue and yellow varieties. But for the brave DIYer, the same effect can be achieved at home on the cheap. I am Kathleen Miller, staff writer and reviewer of the Avasolar team. Working with the team has been a pleasure for me so far, I hope to bring readers useful information by creating detailed and easy-to-follow contents.
Your location should be in an area that receives full sun for at least six hours daily. If you live in a cloudy climate, you may need to choose a location that receives full sun all day. Once you have found the perfect location, mark it off with tape or flags to know where to put your panels. Avoid putting your panels in areas where trees or buildings will shade them throughout the day. In conclusion, you can make a perfect solar light for your home or outdoor usage. You can complete the process with some simple steps.
Suppose you have already read our solar energy 101 article. You can use your DIY solar light to decorate your home for any occasion or permanent lighting. This will also eliminate the need for a battery holder, but that can be purchased if you don't already have one.


No comments:
Post a Comment